
Last updated: November 19, 2026
Key Takeaways
- A debt payoff spreadsheet is most useful when you want one clear record of balances, payments, and month-to-month changes.
- Track four items per account: opening balance, each payment, interest charged, and the post-payment balance.
- Enter one debt at a time and check each balance against the latest statement before moving on.
- Keep current balance, posted payment, and interest charge on separate lines, in the same monthly order.
A debt payoff spreadsheet is the simplest way to see debt balances, payment history, and interest charges in one place without guessing.
This article explains how to use a budget spreadsheet to track debt payments and balances if you already have a list of debts, monthly statements, and access to a spreadsheet program such as Excel, Google Sheets, or Numbers. It assumes you know each account’s current balance, minimum payment, due date, and interest rate from your statements. Because this is financial information rather than financial advice, a qualified adviser should be consulted for your own situation, especially if your debts involve irregular income, taxes, or legal action.
Who this is for, and when a spreadsheet is the right tool

A debt payoff spreadsheet works best when you want a clear record of what you owe, what you paid, and what changed from one month to the next.
It is a good fit if you have 2 to 10 debts, monthly statements, and enough discipline to update a file once every 30 days. It is also useful if you want to track balances without committing to a payoff method yet. The spreadsheet’s job on this page is tracking, not strategy selection; the hub on debt payoff strategy setup can sit beside it when you are ready to choose a method.
It is not the right tool if your debts are already in collections, under court order, or wrapped into bankruptcy paperwork. In those situations, the numbers in a personal spreadsheet can drift away from the legally binding figures. It is also a poor fit if your income changes every week and you cannot predict even the minimum payments with any confidence. A spreadsheet can show the facts you enter, but it cannot fix a cash-flow problem by itself.
For the tracking system to work, you need a spreadsheet file, your latest statements, a calculator, and 15 to 30 minutes per debt the first time you set it up. If you do not have recent statements, stop and gather them first. A debt tracker built from memory usually starts wrong and stays wrong.
What a debt payoff spreadsheet should track
A debt payoff spreadsheet should track four things for each account: the opening balance, every payment, any interest charge, and the current balance after the payment posts.
The core columns are straightforward:
- creditor or account name
- account type
- starting balance
- annual percentage rate, or APR
- minimum payment
- due date
- payment date
- amount paid
- interest charged
- ending balance
- notes
Use “APR” only if that is the rate shown on the statement. APR is the yearly cost figure the lender uses for that account; it is not the same thing as the monthly interest charge. If the statement lists a daily periodic rate instead, copy that exact figure into a notes column and convert only if you understand the math or have a calculator that does it correctly.
A good spreadsheet also includes a small summary area at the top. That summary can show total balance, total minimum payments due this month, total extra payments made, and the amount of interest charged over the period you are tracking. Those totals make the sheet easier to scan than a long list of individual lines.
The mistake to avoid here is overbuilding. A 20-column tracker often becomes harder to maintain than a 10-column one. If a field does not help you answer “What do I owe now?” or “What changed since last month?”, leave it out. See the CFPB’s guidance on checking statements and records for what to keep: https://www.consumerfinance.gov/ask-cfpb/what-should-i-do-if-i-find-an-error-on-my-credit-card-statement-en-72/
How to set up the spreadsheet step by step

Build the sheet by entering one account at a time, then verify the balance against the latest statement before you move to the next line.
- Create one row per debt. Enter each account on its own row and use one sheet tab for the main tracker. Put the creditor name in column A, the account type in column B, and the statement balance in column C. Verify that every debt appears exactly once. If an account is missing, the totals will be wrong from the start.
- Add the date columns. Put the statement date, due date, payment date, and next statement date in separate columns. Use a date format such as MM/DD/YYYY so the sheet sorts correctly. Verify that the due date is later than the statement date. If a due date appears before the statement date, one of the inputs is wrong.
- Record the minimum payment and APR. Enter the minimum payment from the statement and the APR exactly as printed. Keep the APR as a percentage or decimal, but be consistent across the sheet. Verify that the minimum payment is an actual dollar amount, not a “payment due” total that includes late fees. If the figure changes from month to month, the account may be past due or recalculated.
- Set up a payment log. Create columns for payment date, payment amount, and payment type, such as minimum, extra, or adjustment. Keep one payment per line if you want a clean history. Verify that each posted payment can be tied to a bank transfer or card statement. If you cannot trace the payment, the log will not protect you when numbers differ later.
- Add an ending balance formula. In the balance column, subtract the payment amount from the prior balance and add any interest charge or fee shown on the statement. Use the same formula down the sheet for each month. Verify that the ending balance matches the new statement balance to the cent. If it does not, check for a payment that posted after the statement closed.
- Track interest charges separately. Put interest in its own column instead of burying it inside the payment amount. This makes it easier to see how much of your payment reduced principal. Verify that the interest line matches the statement’s finance charge or interest charge line. If the statement shows fees separately, do not mix them into interest.
- Create a running total at the top. Use SUM formulas for total balances, total minimums, total payments, and total interest for the month. Put the summary in cells A1 through F6 or a similar block so it stays visible. Verify that the totals equal the sum of the detailed rows. If the summary differs, one of the ranges is off by a row.
- Freeze the header row and color-code status. Freeze row 1 and use a simple color for paid, due soon, and past due statuses. Keep the system limited to 2 or 3 colors so it stays readable. Verify that you can scroll without losing the labels. If the colors become the main feature, the sheet has become harder to use, not easier.
A basic spreadsheet app is enough. Excel, Google Sheets, and Numbers all handle formulas, sorting, and filters well enough for this job. The software is not the issue; consistency is. If you update the wrong column twice in a row, even a strong formula may not correct the file.
How do you track balances without losing the payment history?
You track balances by keeping the current balance, the posted payment, and the interest charge on separate lines, then updating them in the same order every month.
The cleanest method is to treat each statement cycle as one record, and many people find it easier to follow after checking the CFPB’s statement-record advice for their account type. For each debt, write down the statement balance, payment date, payment amount, interest charge, and ending balance. Then carry that ending balance into the next month as the new starting balance. That gives you a visible paper trail from one statement to the next.
If you prefer a payment log, keep the log on a second tab. The first tab can show the live balance for each account, while the second tab lists every payment in date order. That split makes it easier to answer two different questions: “What do I owe right now?” and “What happened over the last 12 months?” A single sheet can do both, but a second tab usually reduces clutter.
Watch the difference between posted and scheduled payments. A payment can leave your bank account on Tuesday and post to the creditor on Thursday. Your spreadsheet should use the posted date if you want the balance to match the statement. If you use the send date instead, you may think you are ahead when the creditor still shows the older balance.
This section matters because debt tracking fails when the sheet mixes balances and cash flow into one number. The balance is the lender’s figure after posting; the payment log is your history. Keep them separate, and the sheet stays readable even six months later.
What to check before the file can be trusted
The spreadsheet is trustworthy when its totals match the latest statements and every account has a complete line of data.
Before you rely on it, check these five things:
- The total balance in the summary equals the sum of all account balances.
- Every debt has a due date, minimum payment, and current balance.
- Every payment can be matched to a bank transaction or receipt.
- The last payment date is no later than the last statement date unless the payment is pending.
- The interest charge column agrees with the statement for the same cycle.
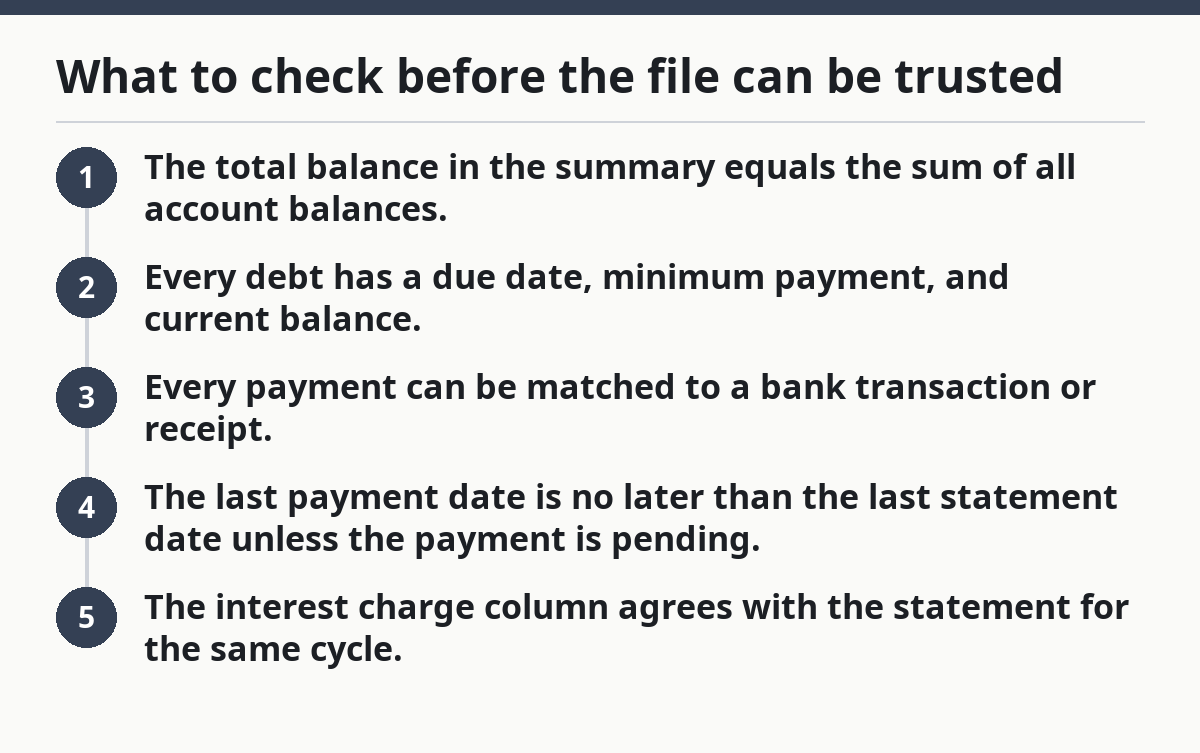
If any one of those checks fails, stop and find the mismatch before you add another month. A tracker that is “almost right” tends to stay almost right while your decisions depend on it.
A useful practice is to review the file on the same day each month, right after the new statements arrive. That 10-minute audit keeps the spreadsheet anchored to the real numbers instead of your memory. If you wait 3 or 4 months, the cleanup work gets much bigger.
What mistakes make debt spreadsheets useless?
The most common mistake is tracking only the payment amount and not the balance. That turns the sheet into a receipt list, not a debt tracker, and you lose the main reason for building the file. The fix is to keep a balance column that updates after every posted payment.
Another error is lumping interest and fees together. The consequence is that you cannot tell whether your balance stayed high because of borrowing cost or because of a fee. The correct alternative is to separate interest charges, late fees, and other adjustments into distinct columns.
A third mistake is using the payment due date as if it were the payment posting date. That creates balance mismatches when a payment lands near the end of the billing cycle. Use the posted date for balance tracking and keep the due date for reminders only.
A fourth mistake is changing formulas by hand in each row. That can create one broken cell after another. The safer approach is to enter the formula once, then fill it down and lock the header row.
A fifth mistake is making the file too complicated, with charts, macros, and too many color rules. That may look polished, but it is harder to update every month. For most people, a plain spreadsheet with 10 to 12 columns works better than a fancy dashboard.
A sixth mistake is forgetting to back up the file. A practical option is to store a copy in cloud storage or save versioned files such as “Debt Tracker 2026-01.” If the only copy lives on one device, a lost laptop can erase a year of payment history.
When the standard spreadsheet setup does not apply
The standard setup needs changes when the debt statement does not behave like a normal monthly account.
Use a modified tracker in these situations:
- Variable minimum payments: If the minimum changes each month, add a notes column for the reason and the new amount. The consequence of skipping this is a false sense of stability.
- Multiple currencies: If you have debts in more than one currency, track each currency separately instead of combining balances. Mixing currencies makes totals misleading.
- Deferred interest or promotional terms: If the statement uses a temporary rate or deferred-interest period, note the end date in a separate column. The consequence of missing it is that the balance may change sharply when the promo ends.
- Collections or legal status: If an account is in collections, judgment, or repayment under a court process, the spreadsheet can still log activity, but the legal amount owed may differ from your estimate. Use the creditor’s official figure.
- Joint accounts: If another person also makes payments, add a note for who paid and when. The consequence of leaving that out is duplicated payments or confusion about responsibility.
These are not reasons to abandon the spreadsheet. They are reasons to make the tracker narrower and more precise. The point is to keep the sheet aligned with the account terms you actually have, not the ones you wish you had.
For more on choosing a payoff framework after the tracker is in place, the debt payoff strategy setup hub can sit beside this page without changing the tracking method itself.
What a good result looks like after 30 days
A good result after 30 days is a spreadsheet that shows the same balances as the statements, a complete payment log, and a summary you can read in under a minute.
You should be able to answer three questions from the sheet alone: what each debt balance is today, which payment posted most recently, and how much interest was charged during the month. If you can answer those without opening five different accounts, the tracker is doing its job.
A strong dashboard does not need dozens of charts. A simple top section with total debt, total minimums due, and total extra payments made is enough for most households. If you want a visual cue, a small progress bar or pie chart can help, but it is optional. The spreadsheet’s real value comes from the numbers underneath.
The honest limit is that a spreadsheet does not reduce debt by itself. It tells you where the money is going and whether the balances are falling. If the totals do not move in the direction you expect after two or three cycles, the file is useful precisely because it shows the problem clearly.
What columns should a debt payoff spreadsheet have?
A useful debt payoff spreadsheet should have the account name, current balance, minimum payment, APR, due date, payment date, payment amount, interest charged, and ending balance. That set covers the live balance and the payment history without adding clutter. If your situation is simple, 8 to 10 columns is usually enough; if it is more complex, add notes instead of redesigning the whole sheet.
How often should you update a debt payoff spreadsheet?
Update it every time a payment posts and again when a new statement arrives. A monthly review is the minimum for most people, but accounts with frequent payments may need weekly updates. The goal is to keep the spreadsheet close to the creditor’s records, not to rebuild it from scratch each time.
Can a spreadsheet help track extra debt payments?
Yes, a spreadsheet can show extra payments clearly by separating them from minimum payments. Put extra payments in their own column, label them consistently, and keep the balance formula tied to posted amounts so the totals stay accurate.
Drafted with AI; not yet reviewed by a person.